By: Koretha
With festivals and events postponed throughout 2026, you might have killer rave outfits sitting in your closet with nowhere to shine. Maybe you're dying to try that holographic makeup look, or your creative soul is restless. This extra time is the perfect opportunity for an at-home photoshoot that captures your festival spirit—no venue required.
You can transform any corner of your space into a photo studio that rivals professional shoots. No expensive props? No problem. Boring background? Easy fix. Whether you're showcasing your favorite festival bodysuits or testing out new makeup techniques, these tips will help you create content that's festival-worthy.
Step 1: Theme and Planning
Start by envisioning the vibe you want to capture. Are you channeling cosmic goddess energy? Desert sunset vibes? Cyberpunk futurism? Your theme becomes the foundation for everything else—from outfit selection to editing style.
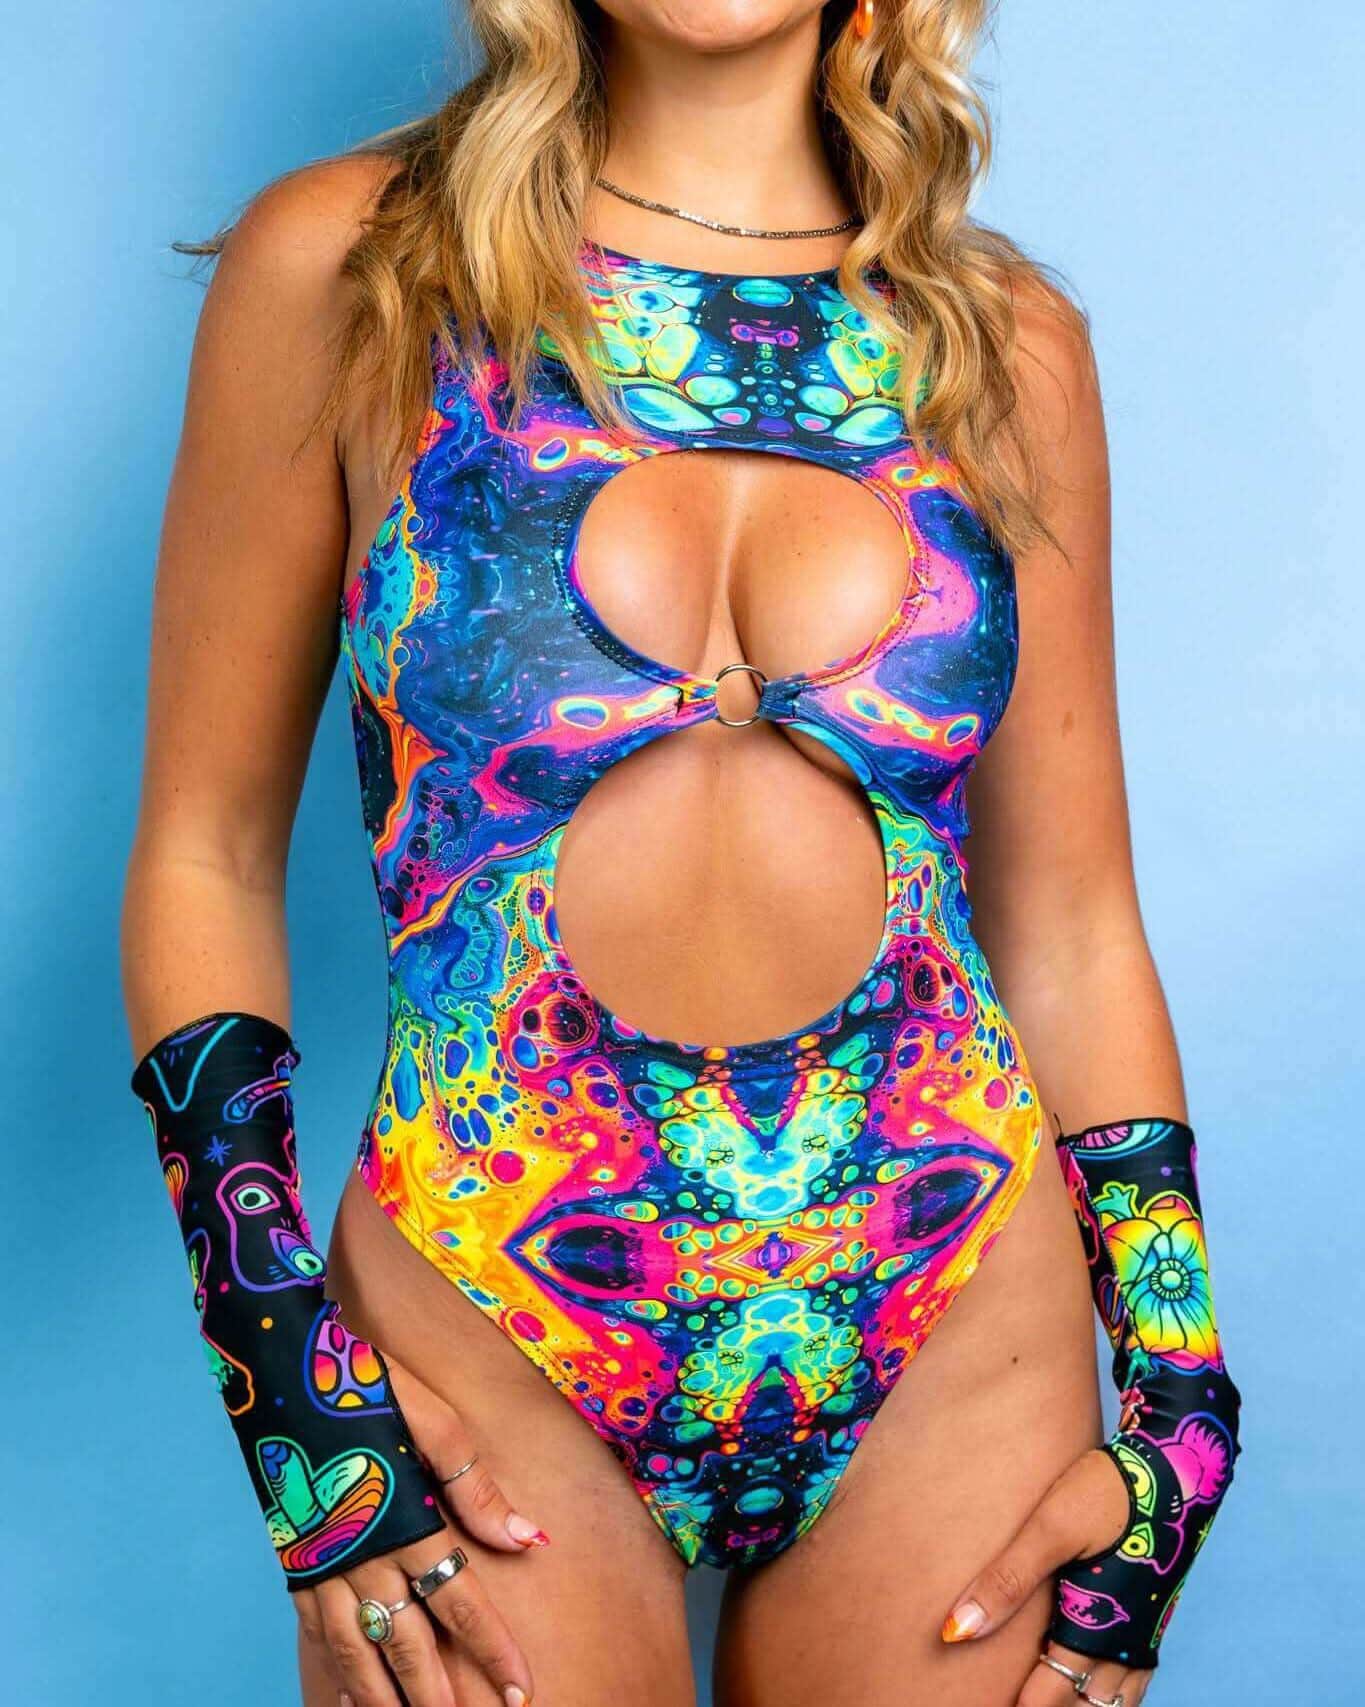
Build your look from one anchor piece. Maybe it's those rave tops you've been saving, or a makeup palette that's been calling your name. Once you have your centerpiece, layer in complementary accessories, makeup, and background elements. Create a mood board on your phone—screenshot looks from Instagram, save Pinterest inspos, or browse through hashtags like #ravestyle and #festivalfashion.
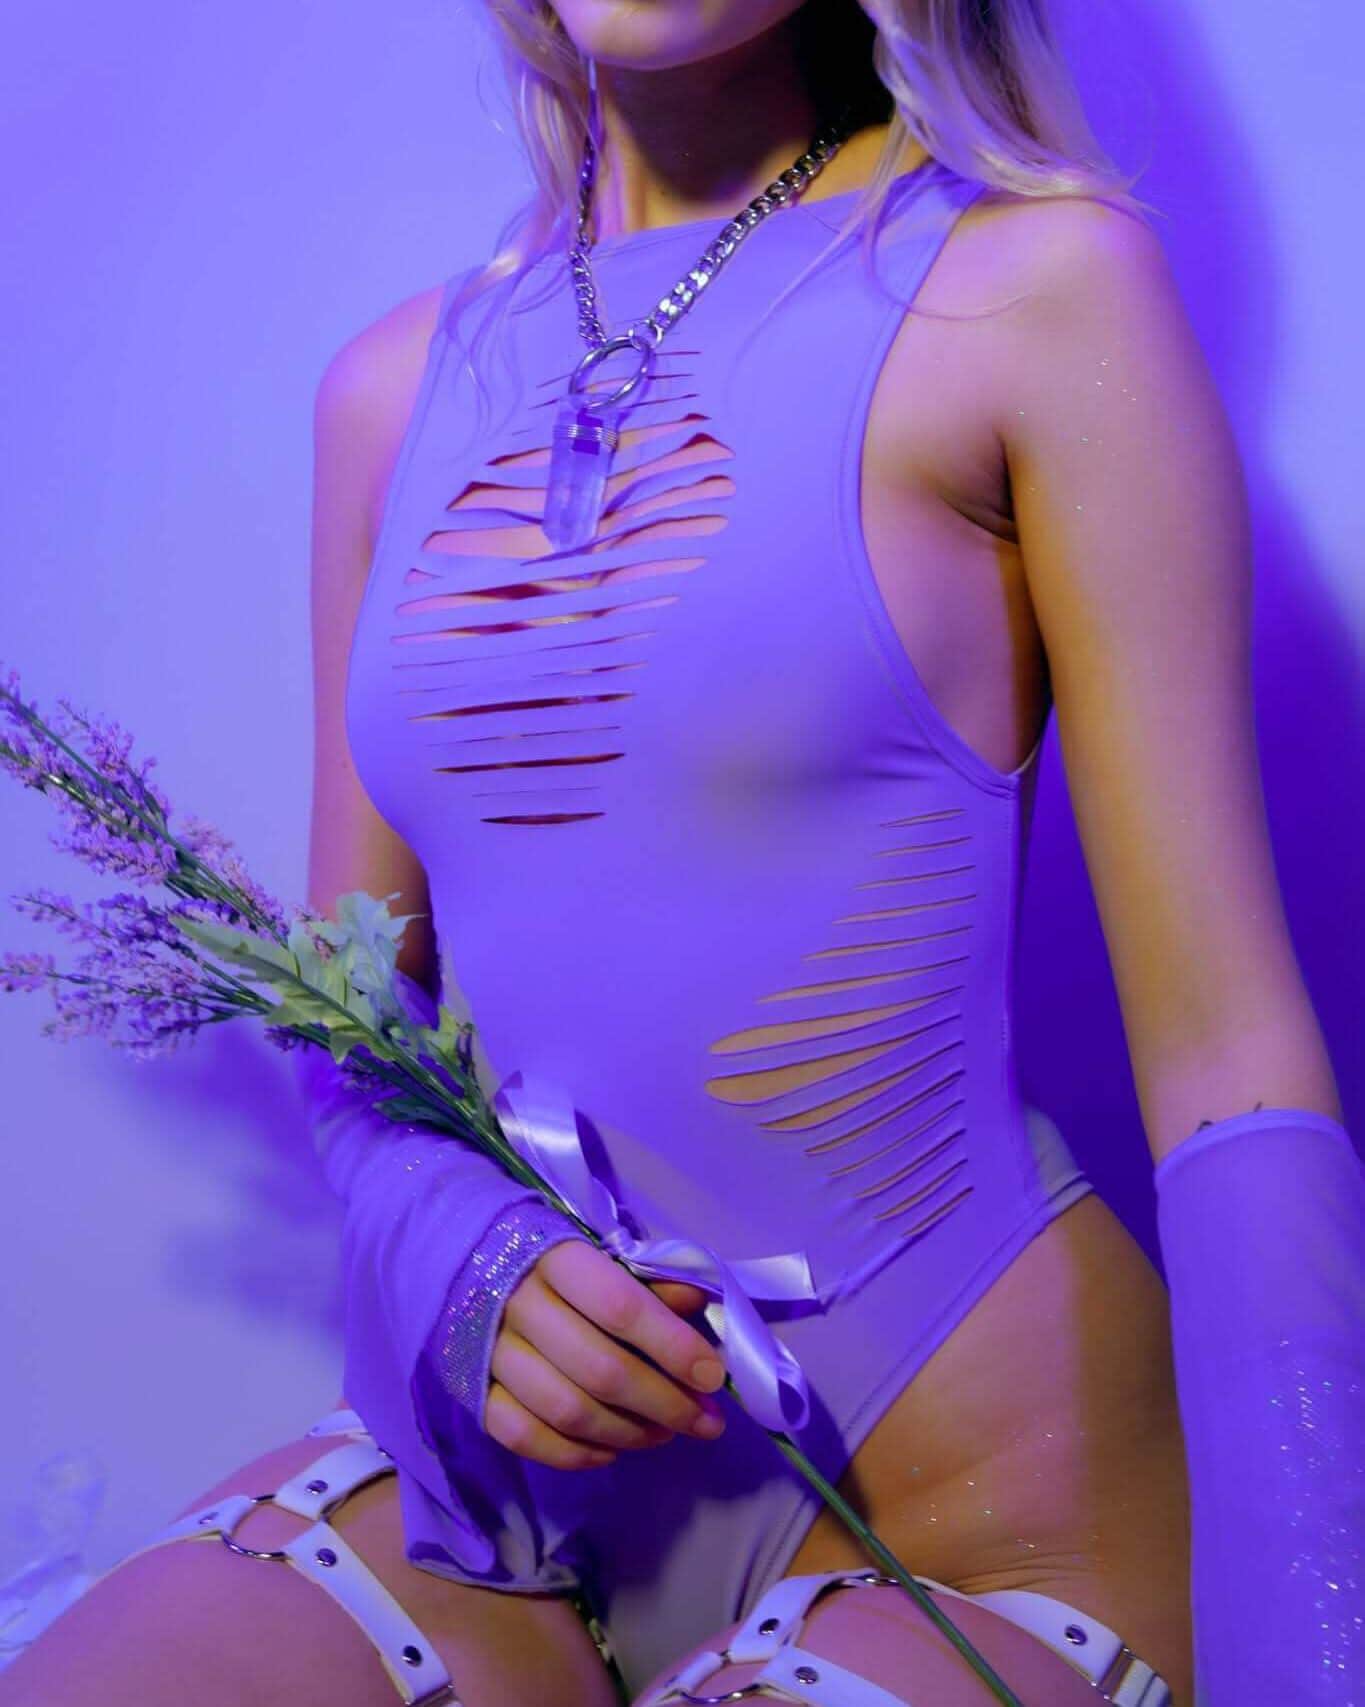
Props can elevate your shoot from basic to legendary. Think festival fans, LED accessories, flower crowns, or even household items like prisms and fairy lights. When an outfit and makeup combo feels complete but needs that extra something, a well-chosen prop makes poses feel more natural and less staged.
Step 2: Master Your Lighting
Lighting is the difference between a photo that pops and one that falls flat. If you don't have a ring light, embrace natural lighting—it's what professional photographers prefer anyway. Scout your space for windows with soft, diffused light (north-facing windows are ideal).
Always face your light source directly to avoid harsh shadows across your face. If you're new to finding your angles, take this as an opportunity to experiment. Shoot in burst mode while slowly rotating your face, adjusting your chin height, and tilting your head at different angles. You'll discover which angles make you feel most confident.
Pro tip: Golden hour isn't just for outdoor festival photography. That warm, glowy light works magic indoors too. Position yourself near a window about an hour before sunset, and watch how that golden light makes holographic fabrics and shimmer makeup absolutely radiate.
Step 3: Choose Your Subject and Composition
Decide what story you're telling with each shot. Full-body outfit shots showcase your complete look—perfect when you've styled rave bottoms with a matching top. Cropped shots (waist-up or chest-up) let you focus on intricate details like sequin work or makeup artistry. Close-up selfies capture the emotion and energy you're channeling.
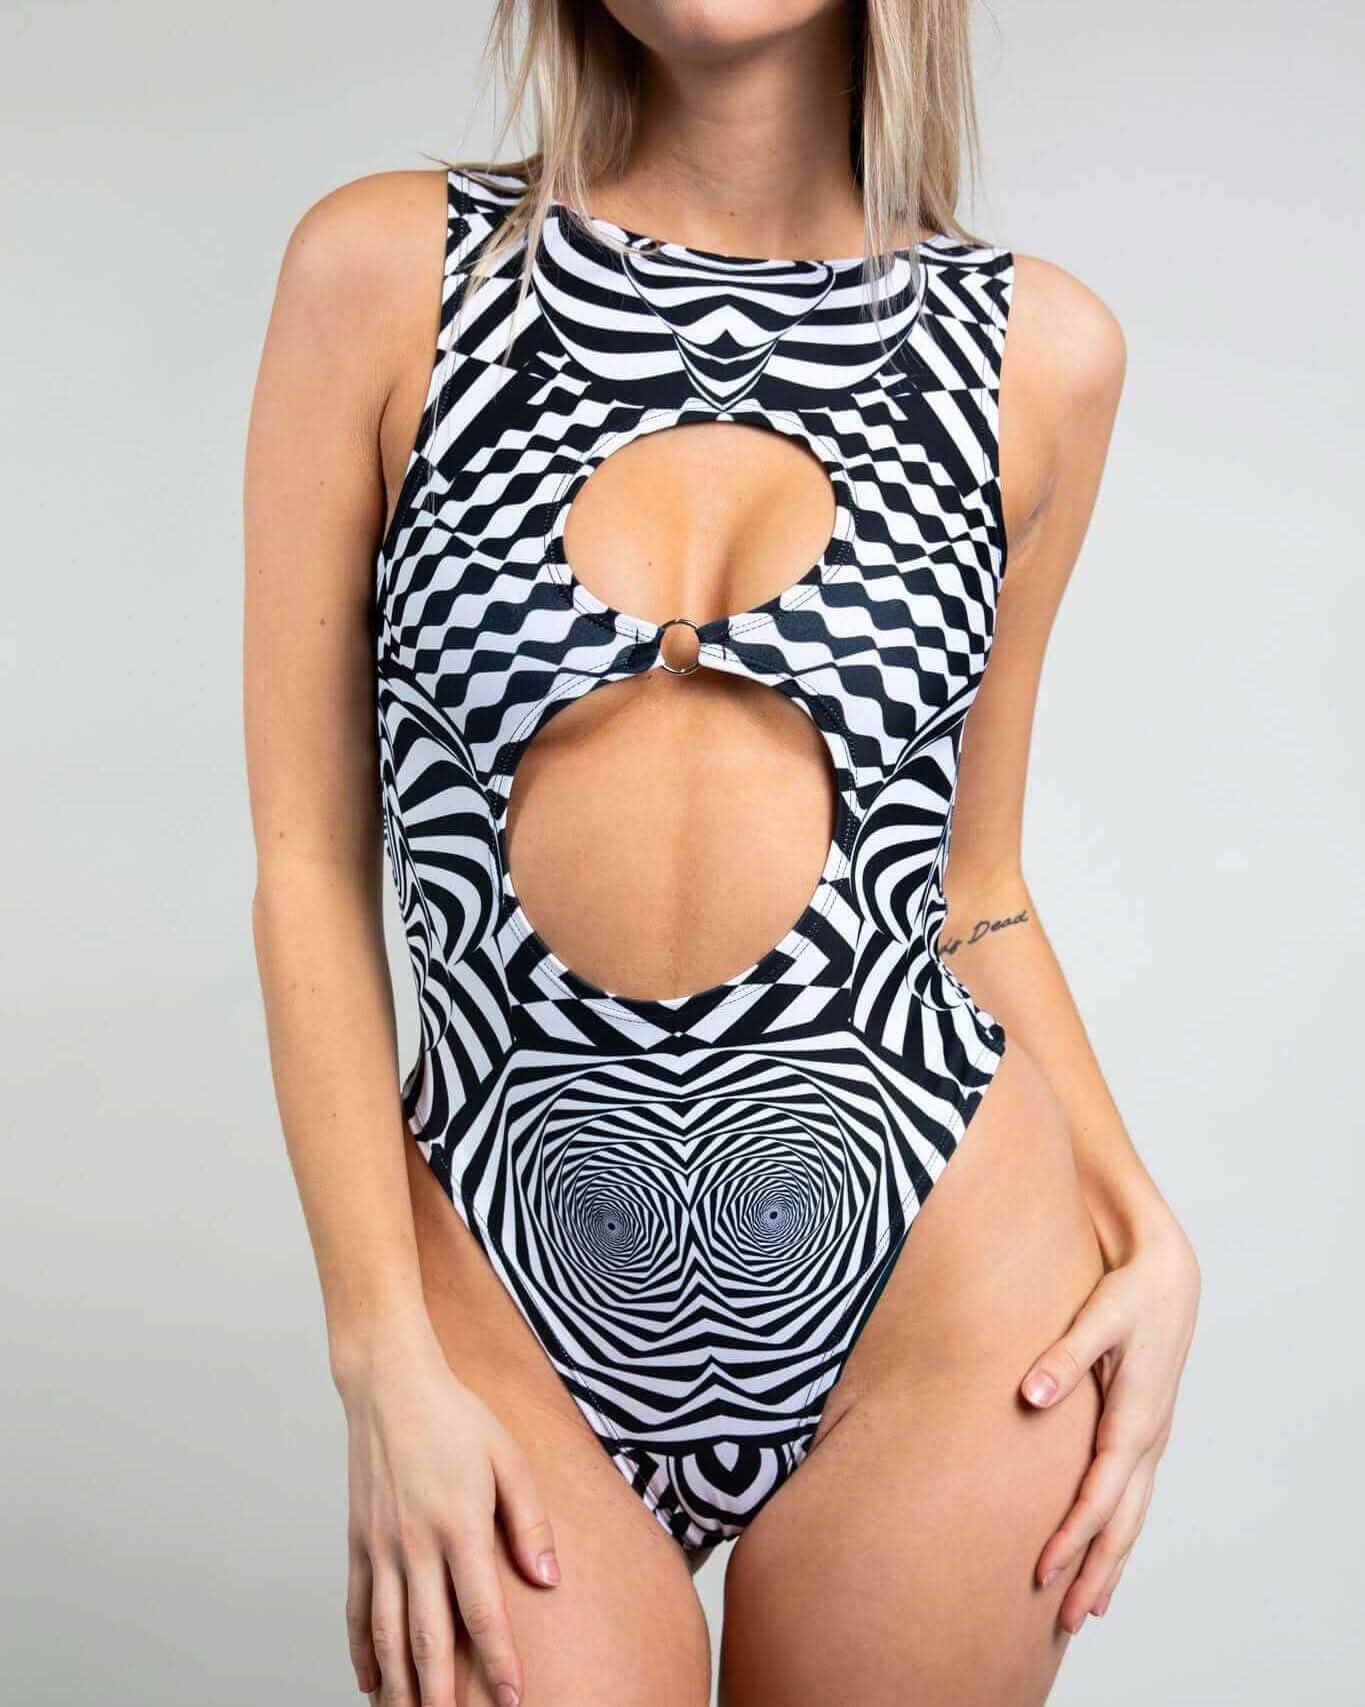
Your composition choice affects everything else. Full-body shots require more background preparation and complete outfit coordination. Waist-up shots (my personal favorite) give you freedom to skip matching bottoms or shoes—they won't be in frame anyway. This is especially helpful when you want to showcase multiple festival tops without doing full outfit changes.
Here's a game-changer: use your phone's back camera for selfies instead of the front-facing one. The back camera has better resolution and doesn't warp your facial features with that wide-angle lens effect. Use a timer or voice command—no awkward arm angles required.
Step 4: Set Your Background and Location
Your background should complement your outfit without competing for attention. Tapestries instantly transform blank walls into bohemian backdrops. Colorful blankets or sheets can hide clutter and add pops of coordinating color. Don't have fabric backdrops? A clean white wall works beautifully—you can always add digital backgrounds during editing.
Scout every corner of your space. That sunny spot in your living room? Perfect for bright, energetic shots. Your bedroom with string lights? Ideal for moody, intimate vibes. If you have outdoor access, use it. Backyards, balconies, and rooftops offer natural settings that need minimal styling.
For outdoor shoots, timing is everything. Golden hour—right after sunrise or just before sunset—bathes everything in that warm, flattering glow that makes skin look radiant and fabrics shimmer. Overcast days work brilliantly too, acting like nature's softbox for even, shadow-free lighting.
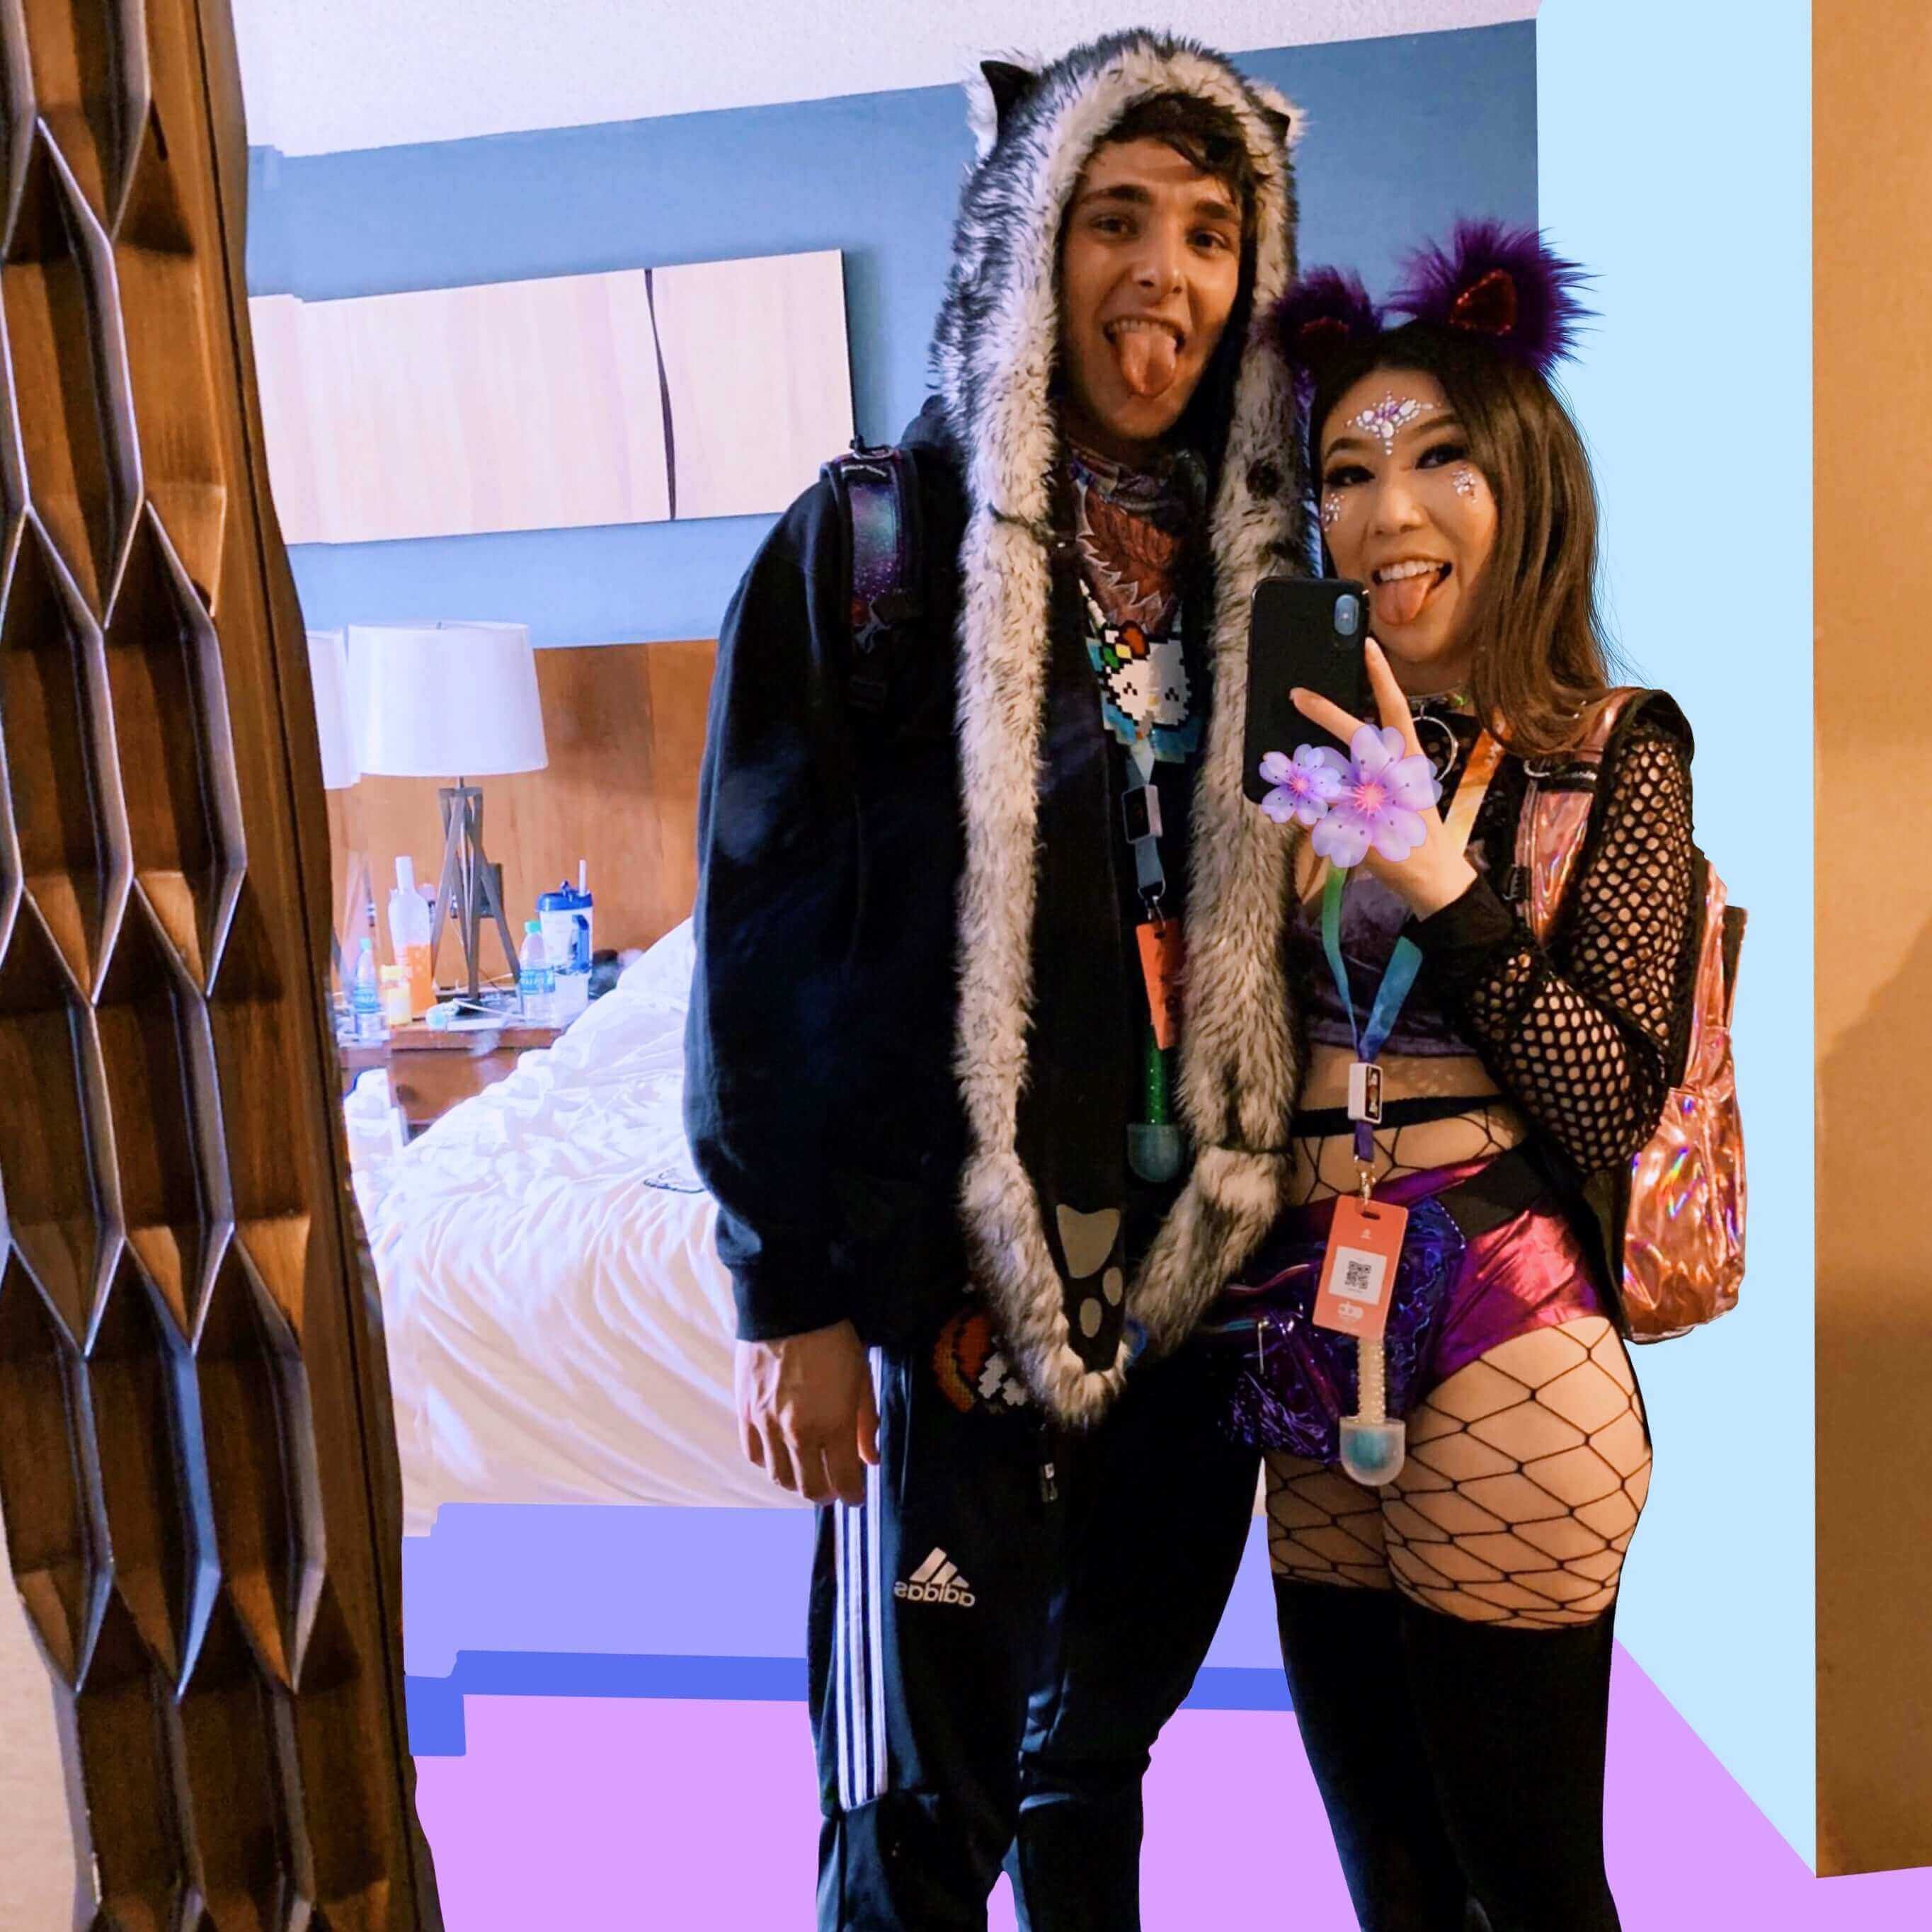
Mirrors add dimension and can create artistic double-exposure effects. If you're shooting matching rave outfits with your festival partner, mirrors let you capture both of you in frame while maintaining that candid, behind-the-scenes energy.
Step 5: The Photo Taking Process
Never take just one photo—that's amateur hour. Shoot in bursts of 10-20 images for every pose. If you're using an iPhone, enable Live Photos and burst mode. These features capture micro-moments and subtle expression changes that often turn out better than the "planned" shot.
Start with safe, comfortable poses to build confidence, then experiment. Move between shots—sway, dance, let your body flow like you're actually at a festival. Action shots almost always look more authentic than static poses. This is especially true when showcasing flowy pieces like rave scarves or fringe details that come alive with movement.
Set up a tripod or prop your phone against books, then use the self-timer. This gives you time to get into position and settle into natural expressions. Remote shutters (available cheap online) are game-changers for full-body shots.
Step 6: Maximize Your Session with Outfit Changes
Once you've nailed shots with your first look, don't pack everything up yet. You've already invested time in perfecting your lighting and background—leverage that setup with multiple outfit changes. This is your chance to photograph every piece of rave clothing you've been excited to wear.
Often, your "backup" outfit ends up being the hero of the shoot. Keep an open mind and try combinations you wouldn't normally consider. Mix that holographic bodysuit with casual denim. Pair your neon rave top with unexpected accessories. These experimental combinations often create the most unique, share-worthy content.
Quick changes keep your energy high and prevent photoshoot fatigue. Prepare outfit options beforehand—lay them out with coordinating accessories so you can swap looks in minutes rather than pausing to style from scratch.
Step 7: Have Fun and Trust the Process
The best photos happen when you forget you're being photographed. Put on your festival playlist, let the music move you, and channel that same energy you'd bring to the dance floor at EDC or your favorite festival. When you're genuinely having fun, it radiates through the camera.
This isn't just about creating content for social media—though that's a great bonus. It's about celebrating your creativity during times when traditional festival experiences aren't available. It's about honoring the effort you put into your style, your makeup artistry, and your self-expression. You're not waiting for the next festival to be your best self—you're claiming that energy right now.
Remember: the rave community has always been about creative self-expression, inclusivity, and making magic wherever we are. An at-home photoshoot embodies all of that. So set up your space, express yourself fearlessly, and create content that makes you feel like the festival legend you are.
Now get out there (or stay in there) and shoot something amazing. Your festival family is waiting to see what you create.